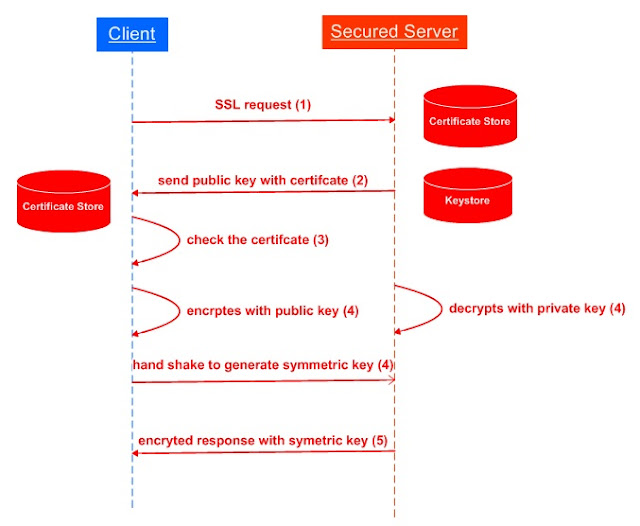
This article explains how web applications work and what technologies are involved in high level.
When you type www.amazon.com/www.google.com into your browser and press ‘Enter’, it
invokes a series of operations and executes a sequence of information exchanges
using standard communication and application protocols within your web browser and across the internet and an Amazon/Google web
server where the website www.amazon.com//www.google.com is hosted.
At the high level, your web browser client connects to the Amazon/Google web
server over the internet, requests the Amazon/Google home page by sending the HTTP
request to the server. The Amazon/Google web
server receives the HTTP request, locates the resource that is requested,
processes it to build the Amazon/Google dynamic home page, constructs a HTTP response,
and sends the response back to your browser. Your browser interprets received
content and displays it on your browser screen.
The communications between your browser and the Amazon/Google web
server can be divided into four
layers: HTTP application protocol layer, TCP transmission control protocol
layer, IP internet protocol layer and hardware Ethernet layer. Let’s consider
the technical details of each procedure:
In order for
your browser to contact the Amazon/Google web server, it needs to translate the
www.amazon.com/www.google.com host name into the IP address
by looking it up in your local DNS cache or querying your ISP’s DNS server configured
using
TCP or UDP over the internet.
After the
Amazon/Google IP address is resolved, the browser connects to the Amazon/Google web server
via the TCP reliable transmission protocol at that IP address using the default
HTTP listen port 80. The Amazon/Google is providing a cluster of the Amazon/Google web
servers in order for high scalability and high availability, the Amazon/Google web server
load balancer is used to deliver the connection request to the specific Amazon/Google
web server.
Once the TCP
connection is successfully established between your browser and the Amazon/Google web
server, your browser sends the following HTTP GET message to the server:
GET / HTTP/1.1[CRLF]
Host: www.amazon.com[CRLF]
User-Agent: Mozilla/5.0 (Windows;
U; Windows NT 5.1; de; rv:1.9)Firefox/3.0[CRLF]
Accept-Charset:
ISO-8859-1,UTF-8;q=0.7,*;q=0.7[CRLF]
…..
It
is noted that cookies may be sent from your browser to the Amazon/Google web server
with the HTTP GET request if the Amazon/Google web server has been visited and the
cookie is not cleaned up.
The Amazon/Google web server receives the HTTP GET request, and creates a
session for this very first HTTP request. The Amazon/Google web server is a
fully-distributed, decentralized multi-tiered web application. Its web tier
that implements servlet server side web technology converts the HTTP request to
the HTTPServletRequest. The HTTPServletRequest is delivered to the web components
which can interact with the business components or the database components to
generate dynamic content. The web
components provide dynamic extension capabilities for the web server to process
servlets, JSP pages or web service endpoints. The business components perform
business logic. The database components retrieve data from the data warehouse
for dynamic content. The requested
resources include files, images, etc.
The
web components then create an HTTPServletResponse, convert it to the following
HTTP response message, and
send it back to your browser:
Status:
HTTP/1.1 200 OK
Date:
Tue, 05 Jun 2012 03:53:32 GMT
Server:
Server
pragma: no-cache
cache-control:
no-cache
Content-Type:
text/html; charset=ISO-8859-1
Set-cookie:
session-id-time=2082787201l; path=/; domain=.amazon.com; expires=Tue, 01-Jan-2036 08:00:01 GMT
Transfer-Encoding:
chunked
…..
Content:
“<html>
<head>
<script type="text/javascript">var ue_t0=ue_t0||+new Date();
<script>var BtechCF={a:2,cf:function(){if(--BtechCF.a == 0){uet('cf');}}};
<script type="text/javascript">
new Image().src = "http://g-ecx.images-amazon.com/images/G/01/...";
new Image().src = "http://g-ecx.images-amazon.com/images/G/01/...";
…..
</html>”
Depending
on the Amazon/Google web server implementation, generally speaking, the servlet
is a Java programming language class that dynamically process requests and
construct responses. JSP page is
a text-based document that executes as servlets but allow a more natural
approach to creating both static and dynamic content. Many other web
technologies, including ASP, JSF, HTML, DHTML, CSS, AJAX, JSON, PHP, CGI, XML, JavaScript,
RSS, etc., can be used to implement the Amazon/Google web pages. Web components are
supported by the services of a run time platform called - web container. A web container
provides services such as request dispatching, security, concurrency, and
life-cycle management.
The above HTTP response is sent back to
your browser by the Amazon/Google web server.
The browser rendering engine parses the HTML document and the tags to
DOM
nodes in a tree called the "content tree". It will parse the style
data, both in external CSS files and in style elements. The styling information
together with the visual instructions in HTML will be used to create another
tree - the
render tree. Then it goes through the
layout and painting processes to display the content on the browser screen.
Sometimes, the Amazon/Google web page contains
links to files that your browser can not display or play, such as sound, animation
files. In that case, you need to install a plug-in application in your browser.
In the end, a couple of additional important
things you need to be aware of during the procedures described above.
The Amazon/Google web
server sends a cookie in the HTTP header with the HTTP response to your
browser. Refer to the Set-cookie header line in the above HTTP response
message. The Amazon stores the following information in the cookie: a main user Id, Id for each session, the time
session started on your machine. The
Amazon also uses cookie to implement the shopping cart.
The Amazon/Google web home page includes AJAX JavaScript to allow the parts of
the page to be updated asynchronously by exchanging small amounts of data with
the Amazon web server.
The HTTP application protocol used for
retrieving the web pages is connectionless. Your web browser client opens a
connection and sends a HTTP request message to a HTTP server; the server then
returns a HTTP response message, usually containing the resources requested.
After delivering the response, the server closes the connection. HTTP is
stateless. This is a direct result of the HTTP being connectionless. The server and the client are aware of each
other only during request. As a work-around,
HTTP servers implement various session management methods, utilizing
identifiers in cookie to track the requests originating from the same
client.